In early February, I posted about a new project for
Cousin
which would be our "biggest assignment to date." I'm super excited and
super nervous about being able to create something that will be
displayed at such a prestigious event.

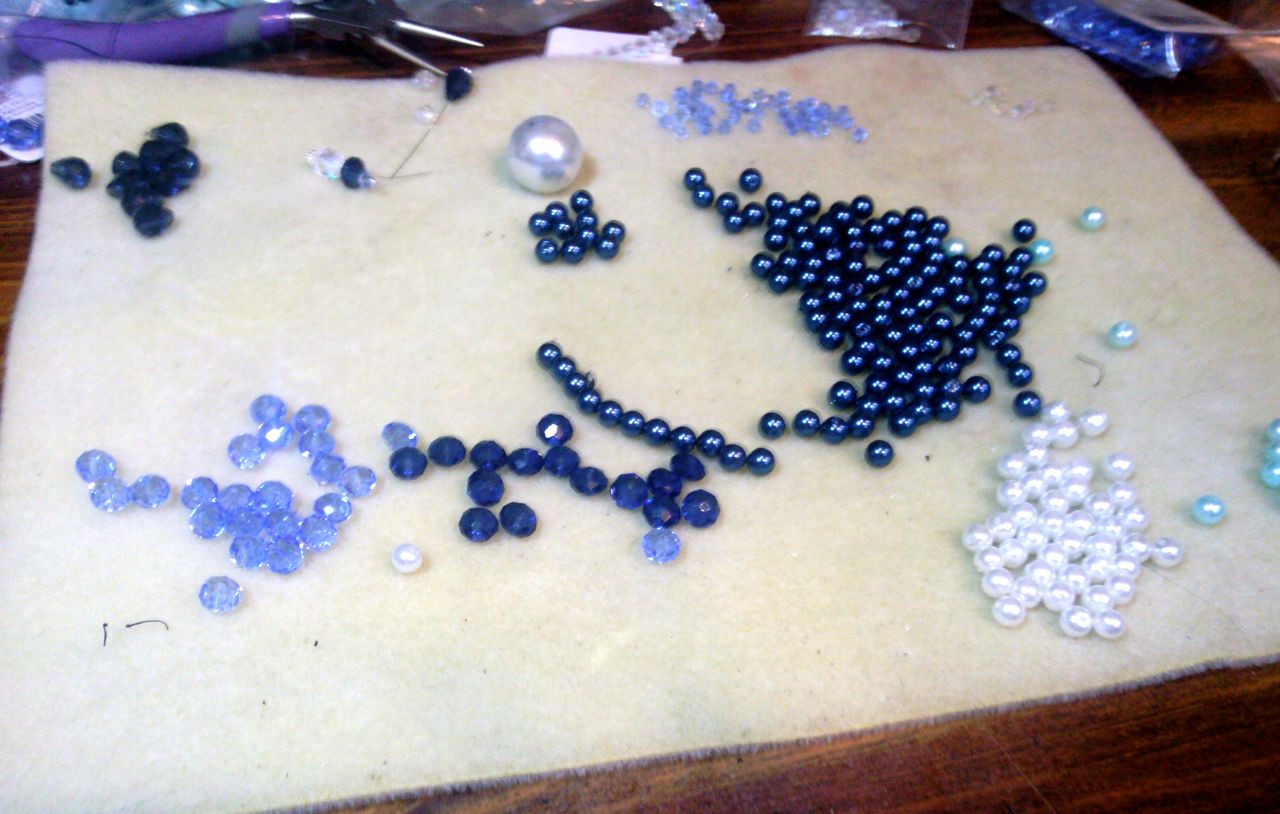
While
I sorted my supplies, I ran into a problem. The color of some of the
pearls were off. I had ordered dark blue/navy and what I received was
dark teal/green color. Turns out I had a mislabeled batch. Oops.... I
reached out to one of my contacts there at
Cousin/
Prima Bead
and he quickly sprang into action to make sure the other pearls were
labeled correctly for other customers and find me a perfect match for
what I wanted. Within a few days, I received my new goodies. But the
fact I had off colored items didn't stop me from creating a beautiful
piece from the pearls. So now I have two necklaces for
Cousin to choose from. Below are the progression of each necklace from idea conception to finished beauty.
The beginning of the first one:
This
was the focal design I came up with and the rest of the necklace flowed
around it. Sterling Silver fancy head pin, filigree heart connector
and eye pins were used with a 10x8mm Crystazzi Dark Sapphire teardrop
bead, huge 20 mm glass pearl and a 6x8mm Crystazzi Light Sapphire
rondelle.
I
came up with a pattern using 6mm deep teal, light turquoise, and white
glass pearls. I knew I wanted to use a collar style necklace as the
base for this piece to give it a Victorian feel.
I used Beadalon's WildFire Thermally Bonded Bead Weaving Thread in Frost 10 lb., 15mm with a #12 beading needle.
I
created a Right Angle Weave using a base ring of four pearls then
adding in three at a time until I reached the desired length. I then
went back in and added 4mm round A/B finished Swarovski clear crystals
and 4mm bicone Crystazzi Light Sapphire crystals.

I
added in dangles along the sides using 10x8mm Crystazzi Dark Sapphire
and Clear A/B tear drops accented with 4mm bicone Crystazzi Light
Sapphire crystals and 4mm bicone A/B clear crystals. I draped a Sterling
Silver link chain from the Elegance Metal line in the design.
Bit
by bit, it all came together. I continued to add in various colored
glass pearls, crystals, and even some Jewelry Basics acrylic beads.


 After my perfectly deep navy pearls arrived I started much like the other project with a Right Angle Weave stitch. I did large sections of each color of pearls with various colored crystals added between the pearls.
 This gave it a different look than the first one. I then had this crazy notion to make something different for the focal. I took one of the huge round pearls and encircled it crystal rondelles. The tricky part was to create the focal without the thread showing through and looking all nasty.

 The easy part was done. Now for actually implementing the design. Piece by piece, it began to come together.
 There were some very minor changes to the design I originally created in Illustrator. Some things only trial and error can fix. Not everything on paper works in reality.
 I discovered that it was way too short to actually be worn even though I had measured and double checked everything. I had to cut the clasp off and add in some chain and another toggle clasp. It worked out better in the end. It added a bit of comfort to the back of the necklace.


 While
I sorted my supplies, I ran into a problem. The color of some of the
pearls were off. I had ordered dark blue/navy and what I received was
dark teal/green color. Turns out I had a mislabeled batch. Oops.... I
reached out to one of my contacts there at Cousin/Prima Bead
and he quickly sprang into action to make sure the other pearls were
labeled correctly for other customers and find me a perfect match for
what I wanted. Within a few days, I received my new goodies. But the
fact I had off colored items didn't stop me from creating a beautiful
piece from the pearls. So now I have two necklaces for Cousin to choose from. Below are the progression of each necklace from idea conception to finished beauty.
While
I sorted my supplies, I ran into a problem. The color of some of the
pearls were off. I had ordered dark blue/navy and what I received was
dark teal/green color. Turns out I had a mislabeled batch. Oops.... I
reached out to one of my contacts there at Cousin/Prima Bead
and he quickly sprang into action to make sure the other pearls were
labeled correctly for other customers and find me a perfect match for
what I wanted. Within a few days, I received my new goodies. But the
fact I had off colored items didn't stop me from creating a beautiful
piece from the pearls. So now I have two necklaces for Cousin to choose from. Below are the progression of each necklace from idea conception to finished beauty.


